How do I create a FACT24 user?
FACT24 users are persons with access to FACT24 applications for administrative purposes and/or for alarm activation. Two accounts (for access via Internet or telephone) and different access permissions can be configured for each user.
Instructions for creating a user:

- Click "Setup" and select "User" in the menu.
- An overview of all users stored in FACT24 will appear. If no users have been created yet, this list is empty except for the main administrator (principal).
- To create a new user, click "New user". The basic configuration automatically opens:
First/last name | Enter the user's first and last name. |
E-mail address | Enter the user's e-mail address (e.g. for receiving the login data). |
Telephone number | Enter a phone number that can be used to reach the user. |
Language | Select the language in which FACT24 is displayed to the user by default. |
I would like to be informed about maintenance work and technical faults. | When selecting "Yes", the user receives information about maintenance work and technical faults by e-mail. In addition, the user also receives information about new features and updates. |
- In the second step, "Accounts", the user is set up with a corresponding telephone and/or web login account, via which the user can log on to FACT24.
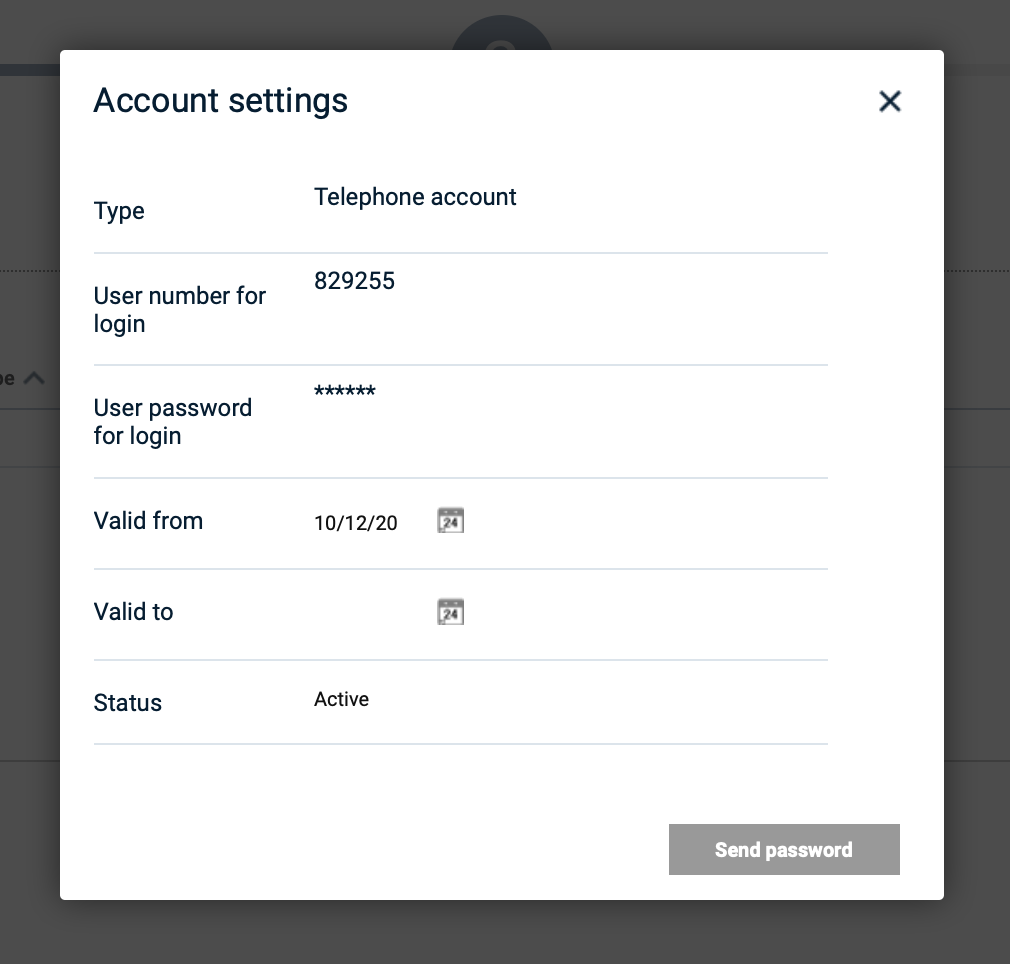
- Telephone account:
For the configuration of a new telephone account, a user number and a user password for the login are already predefined in the window that opens. Define the validity (valid from, optionally valid to) as well as the status of the account and complete the entry via "send password". An e-mail containing the user number and PIN is automatically sent to the user. If you want to activate an alarm via phone, have your user number and PIN ready for authentication.

Fig.: Set up a telephone account
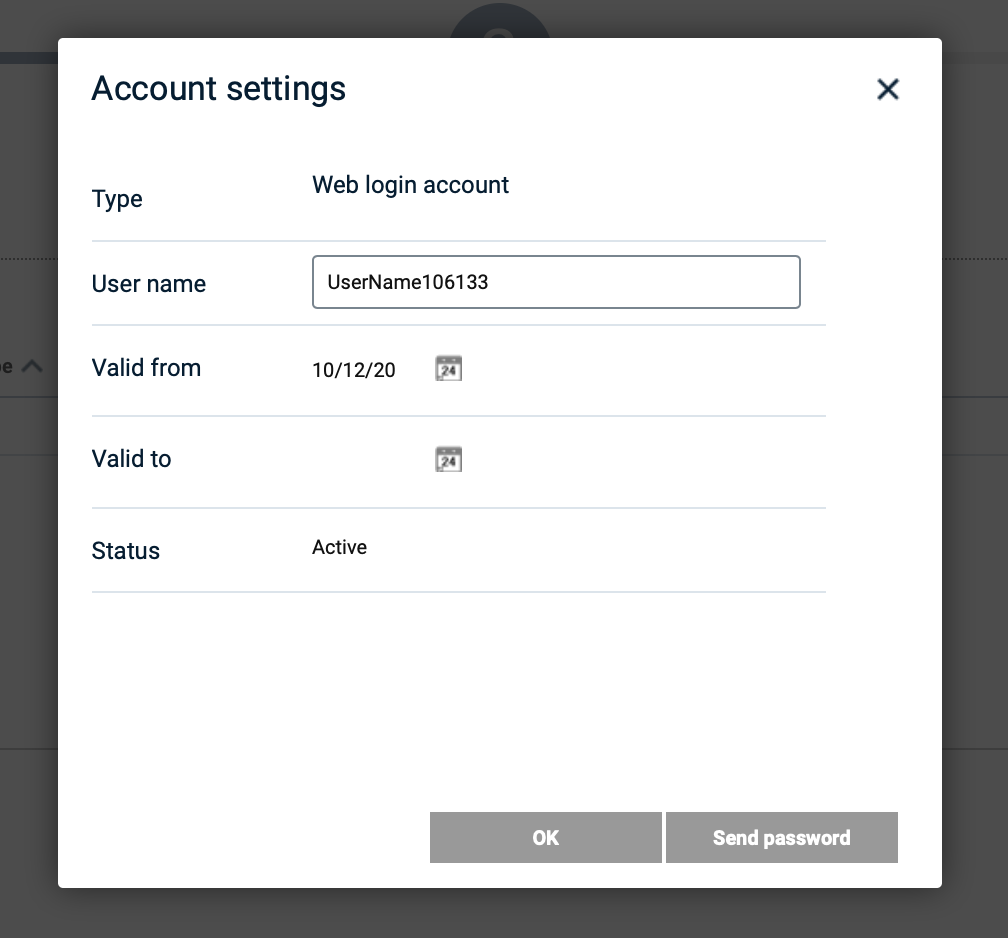
- Web login account:
For the configuration of a new web login account a user name is already specified in the opening window that you can modify. Also define the validity (valid from, optionally valid to) as well as the status of the account and close the input via "send password". The table now contains the created web login account and the user automatically receives an e-mail with the user name as well as a link to the password setting.

Fig.: Set up a web login account
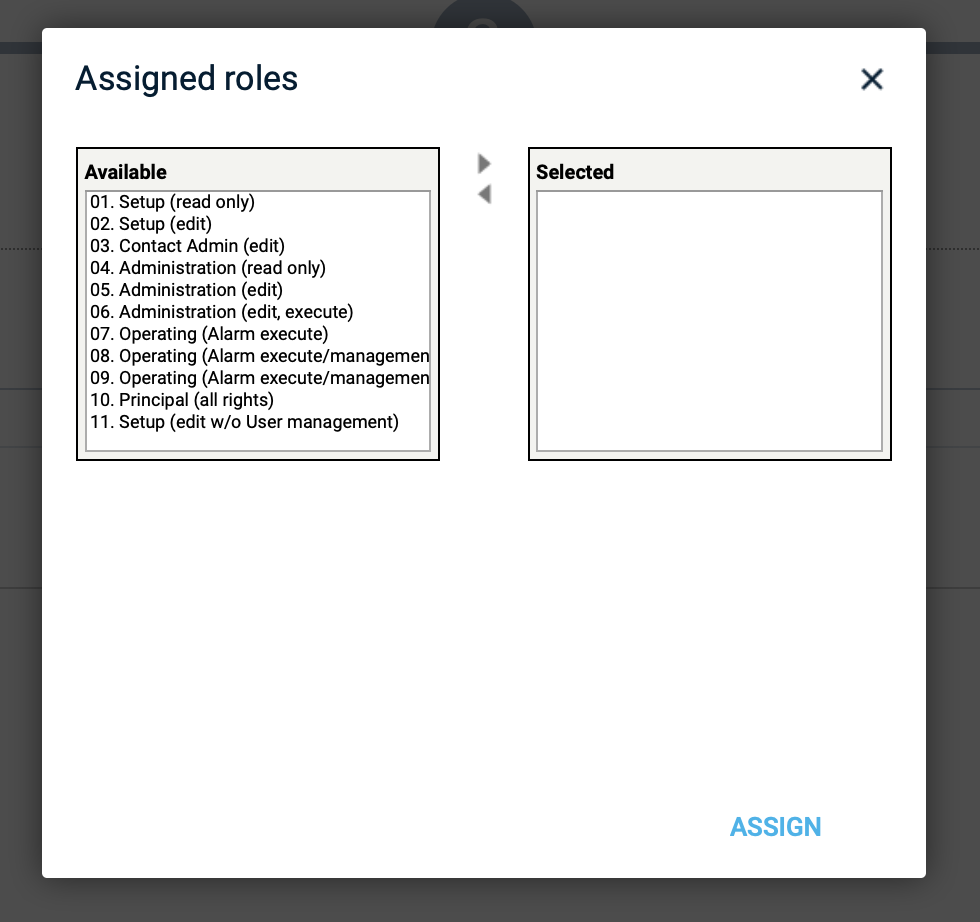
- In the last step "Assignment of roles" one or more roles can be assigned to a user.
Clicking on "Assign" opens a window. All available roles are listed on the left side of the "assigned roles" window. Click the role you want and the arrow pointing to the right. Alternatively, you can also double-click the role you want. It will then automatically appear as "selected" and you can confirm your selection by clicking "assign".

Fig.: The assignment of roles
In the following video we will show you how to create a user in FACT24:
