
Widget Rooms
Communication with your contacts is end-to- end encrypted and takes place in protected rooms which you create and name yourself. This widget displays all the rooms you have already created, as well as rooms you have created in the TrustCase app. However, these rooms are only displayed after Web login to the F24 Collaboration dashboards is completed (see “Web login” tab). Use the Search box (magnifying glass icon) to search for specific rooms.Click a room name to open the room and continue communication there.
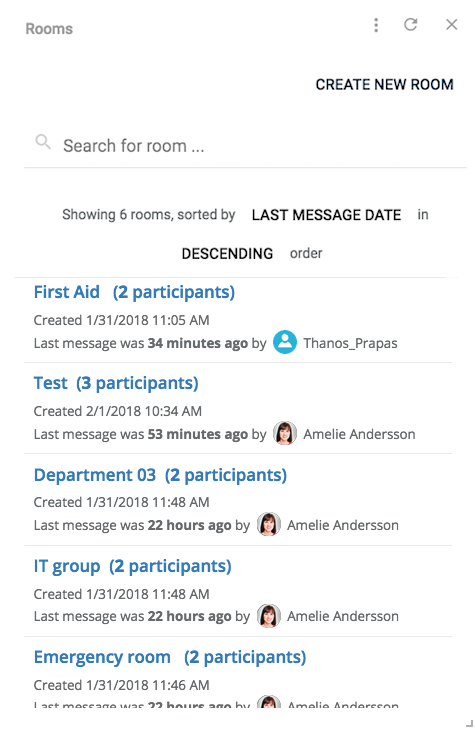
Fig. 15: List of rooms already created
Creating a new room and adding contacts
To create a new room, open the Rooms widget and click CREATE NEW ROOM. Then enter a name for the new room in the Room name box and add your desired participants (TrustCase app contacts) by clicking the corresponding checkboxes. Alternatively, you can use the Search function to find participants. Enter the name of the contact. As you enter the letters, the auto suggest function filters results with increasing accuracy.
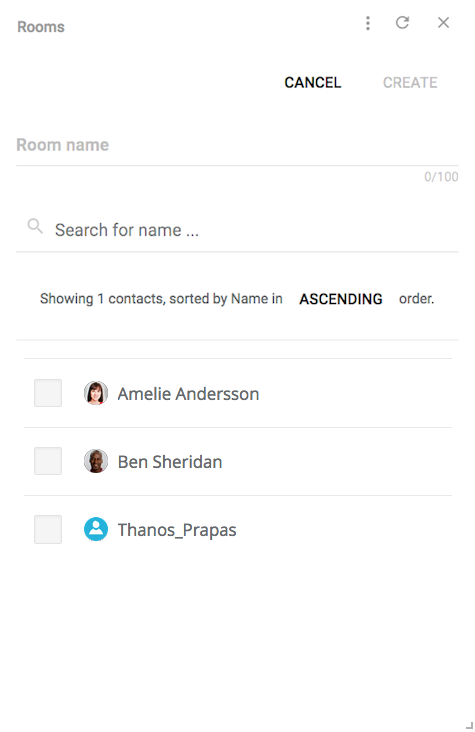
Fig.: Create new room
Now click CREATE to save your data. The newly created room opens.
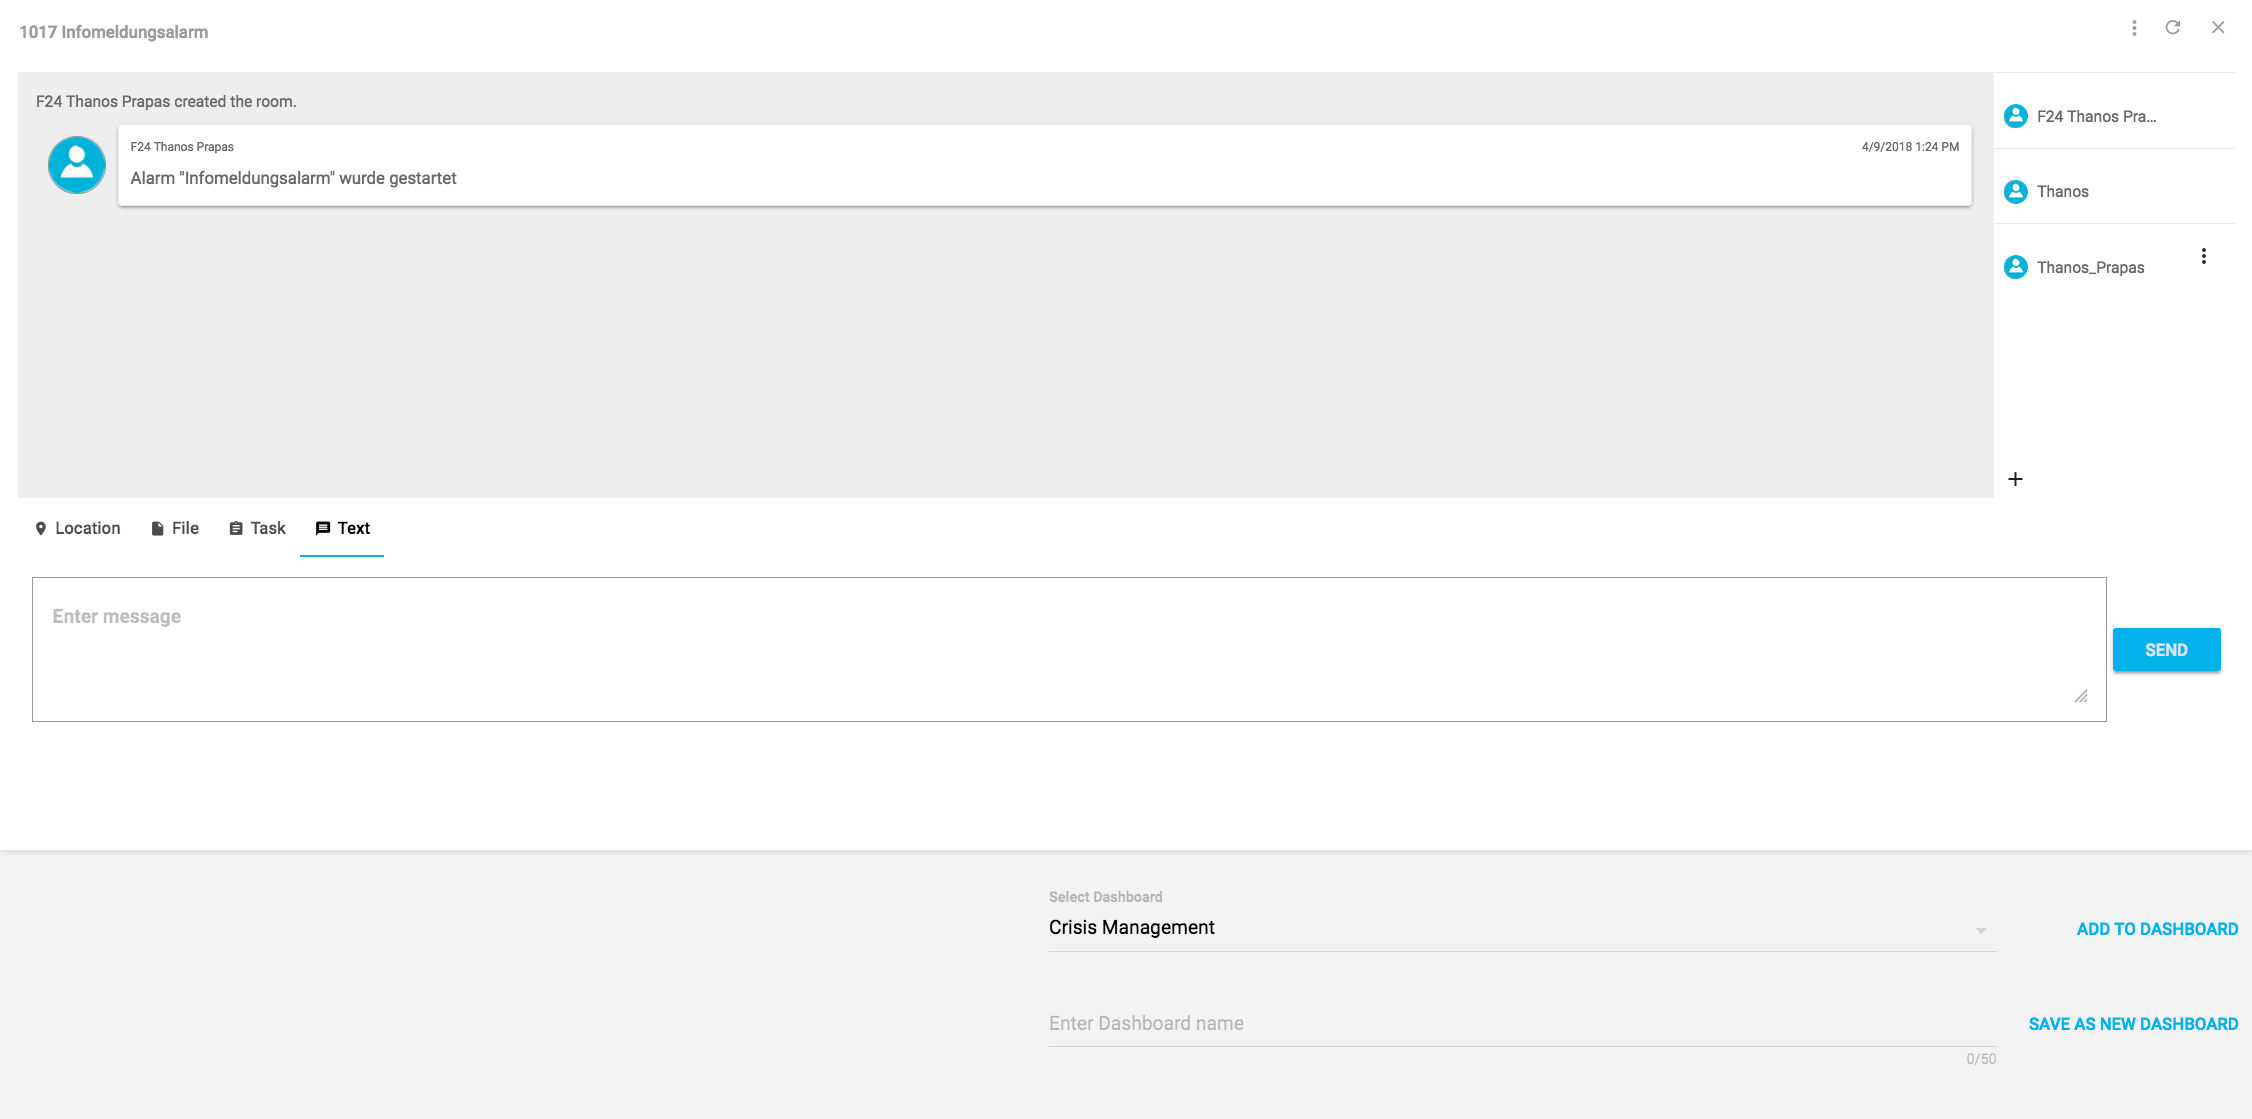
Fig.: Newly created room
The names of the participants assigned to this room are shown at top right.
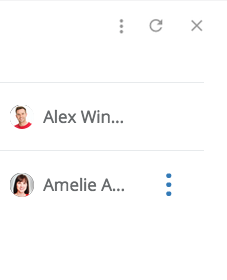
Fig.: Participants in the room
You can use the three dots icon next to the participants’ names to send a task to a participant (see Create new task) or remove a participant from the room.
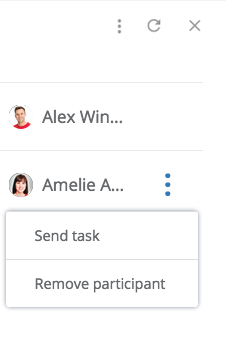
Fig.: Send task / Remove participant
You can also invite other participants to join a specific room at any time. To do this, click the three dots icon at the top right of the bar, then "Invite participants".
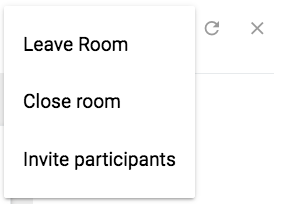
Fig.: Invite participants to join a room (01)
A new window opens. Now select the participants you wish to invite to the room, then click "INVITE".

Fig.: Invite participants to join a room (02)
Actions in a room
In the lower area of an opened room, you have the option of performing the following actions:
- Share location
- Upload file
- Send task
- Send text (message)
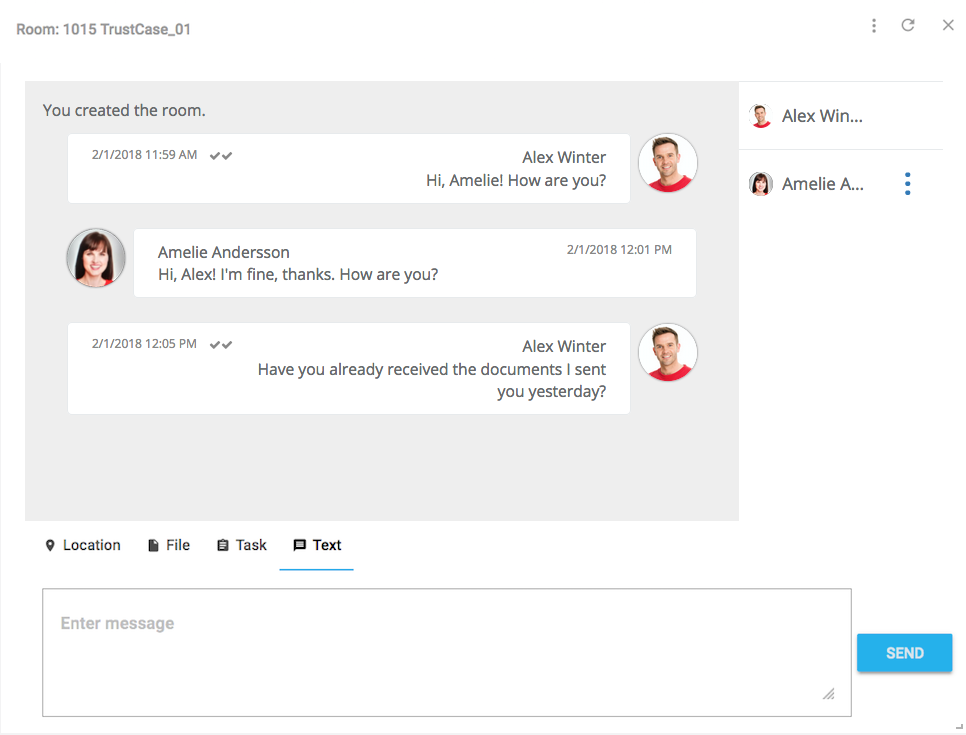
Fig.: Actions in a room
You can also use drag and drop to move a file or message to a room from a different window or send it.
Adding a room to a dashboard or saving separately
You can add a newly created room to an existing dashboard or save it in a new dashboard. To do this, use the buttons at bottom right:
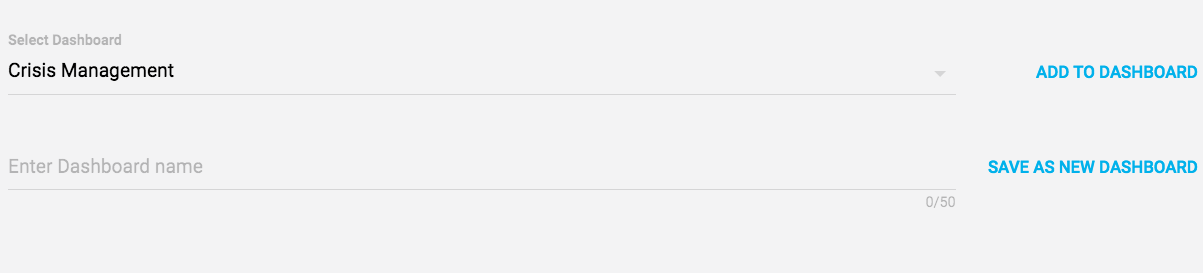
Fig.: Adding a room to a dashboard or saving separately
To add a room, select the desired dashboard from the top row above the input box on the left, then click ADD TO DASHBOARD.
To save separately, enter a name for the new dashboard in the input box on the left of the bottom row, then click SAVE AS NEW DASHBOARD.